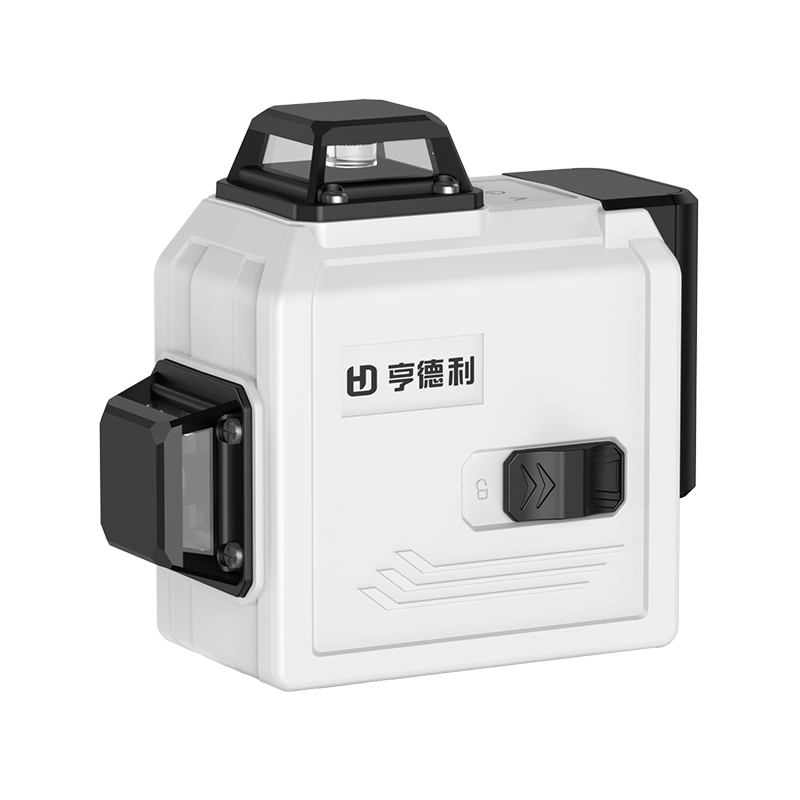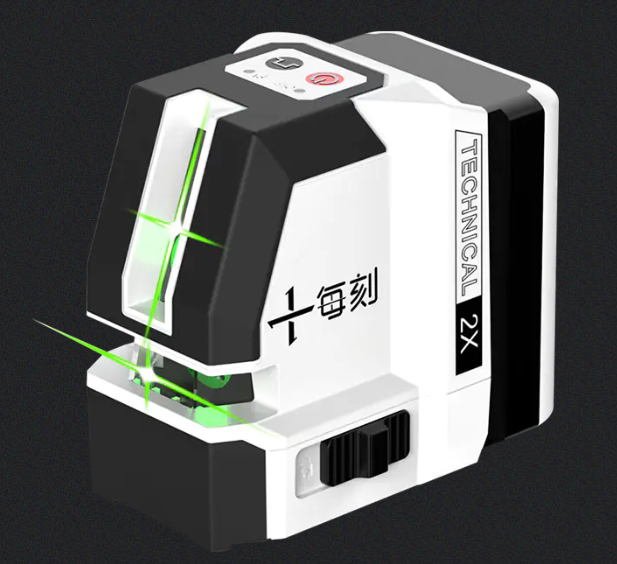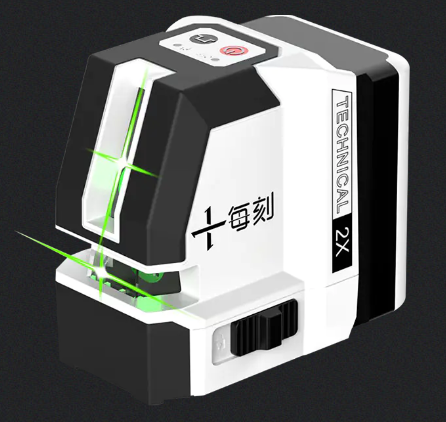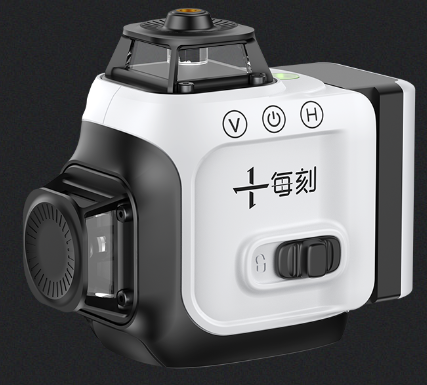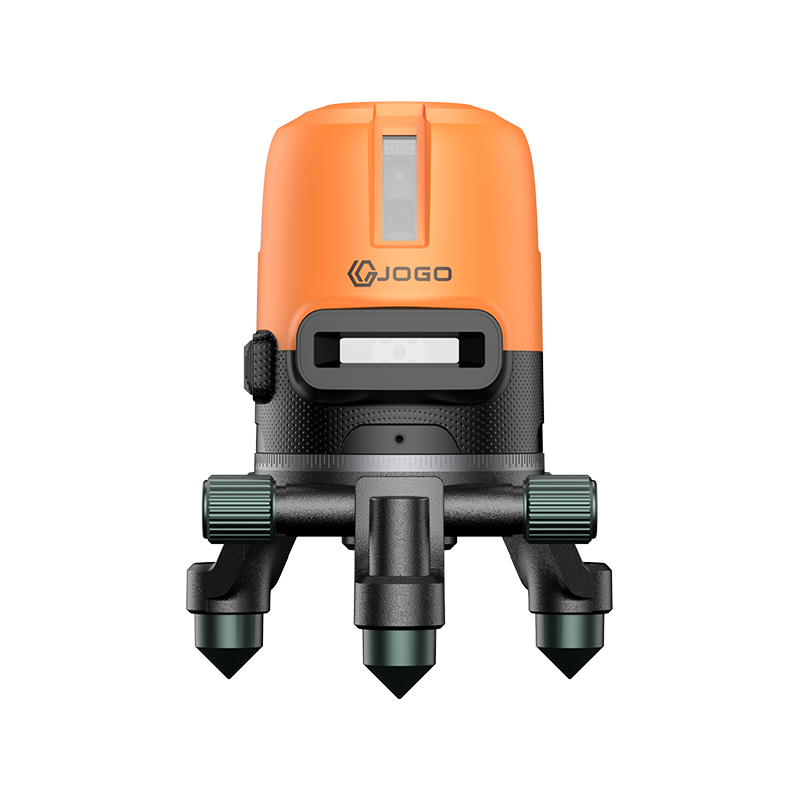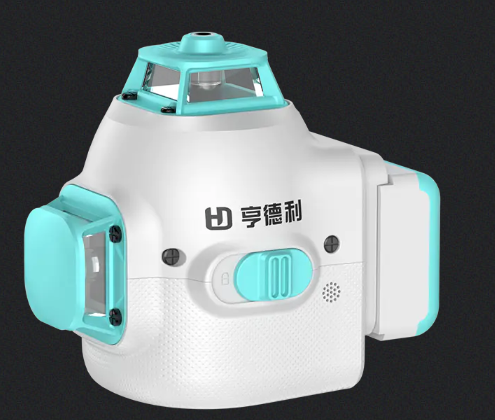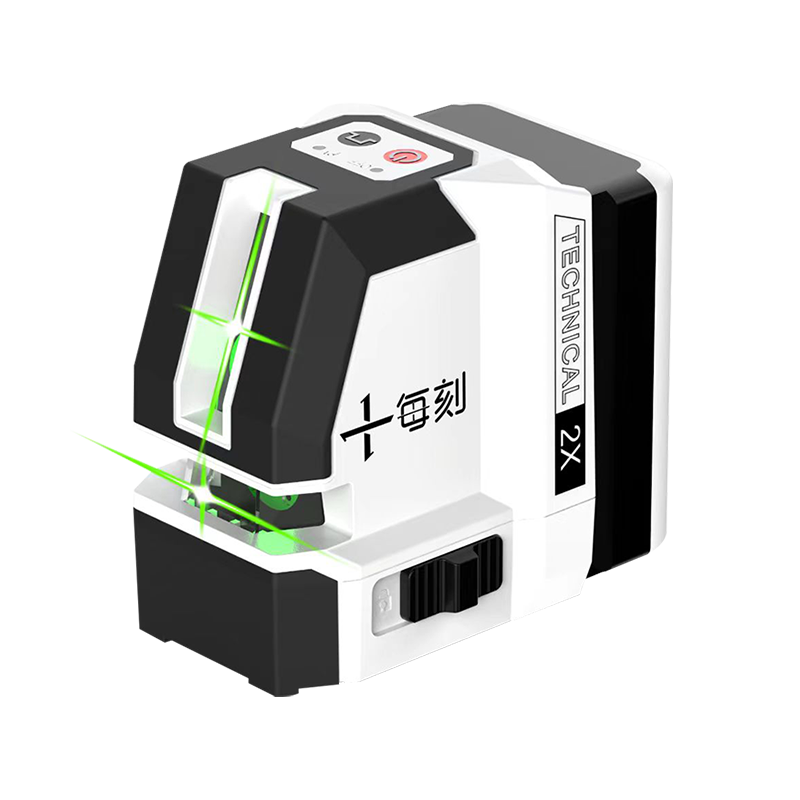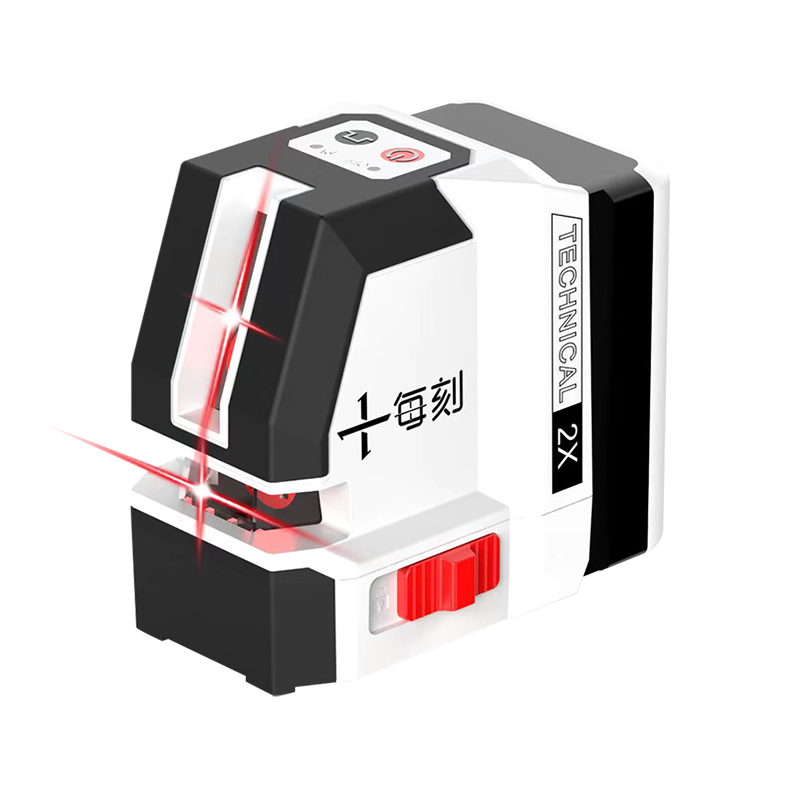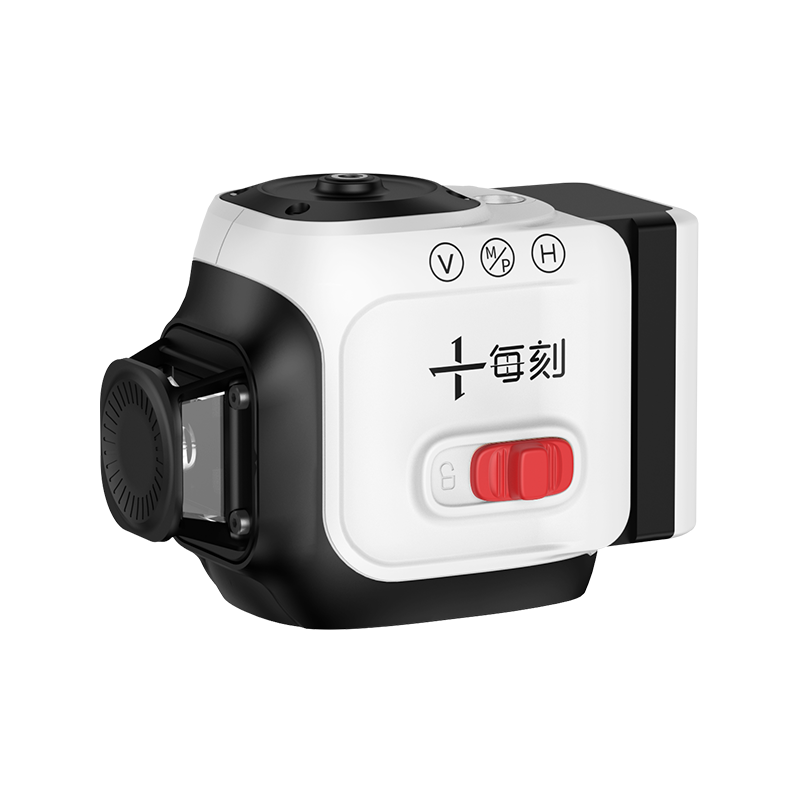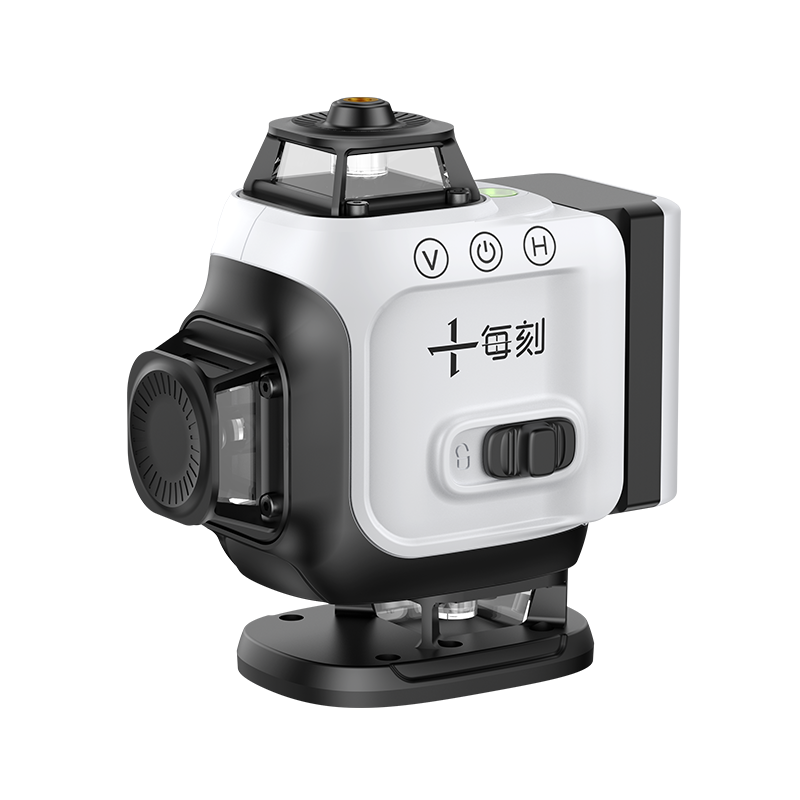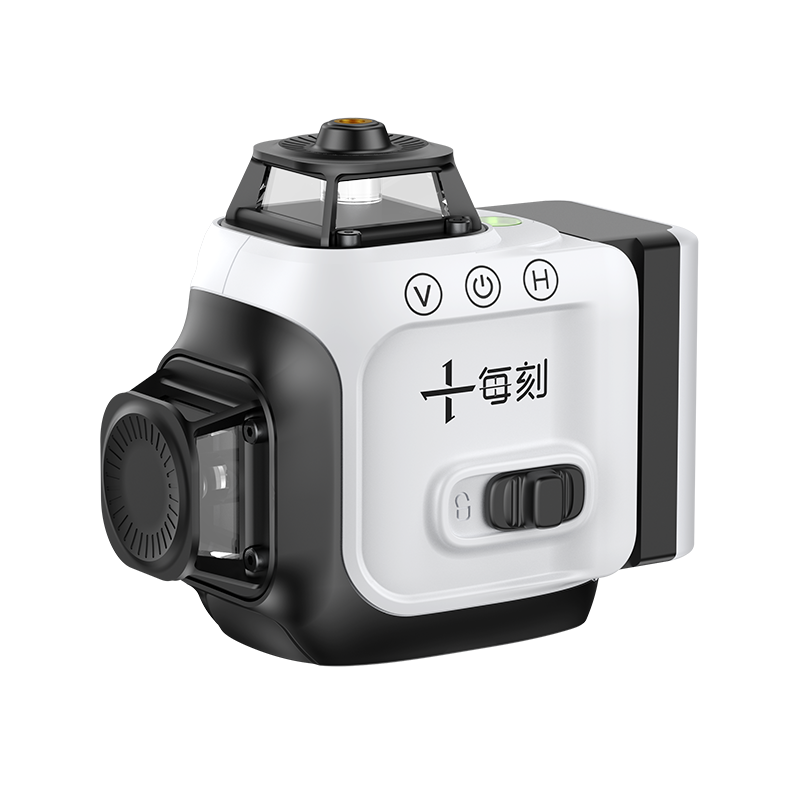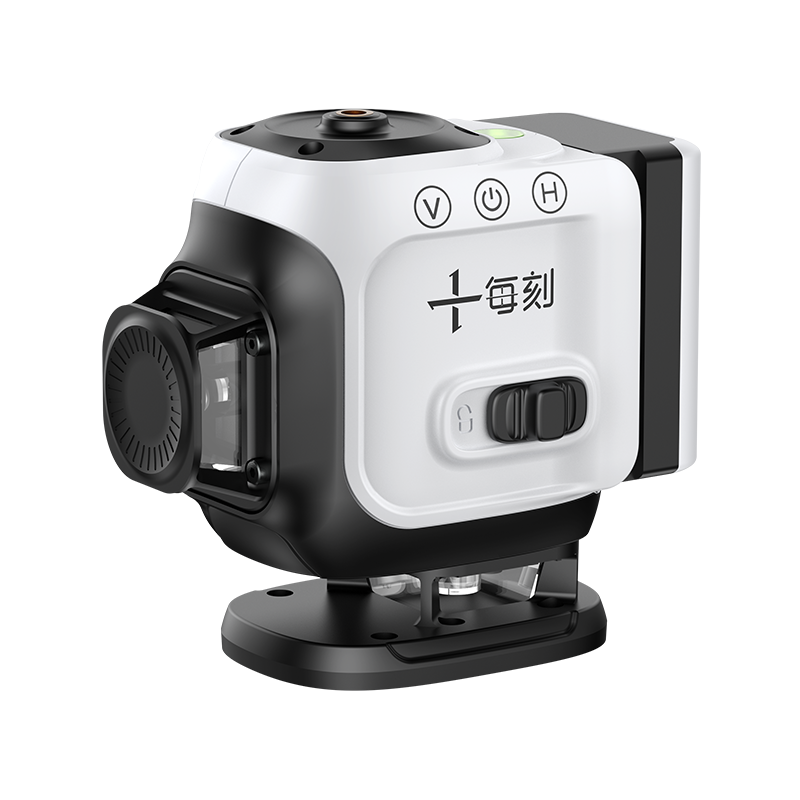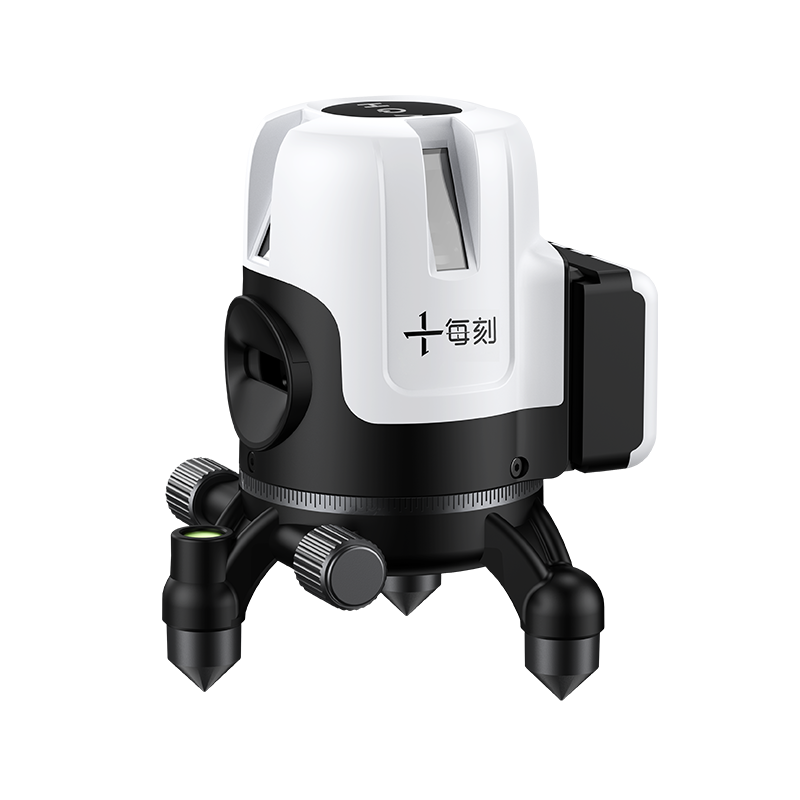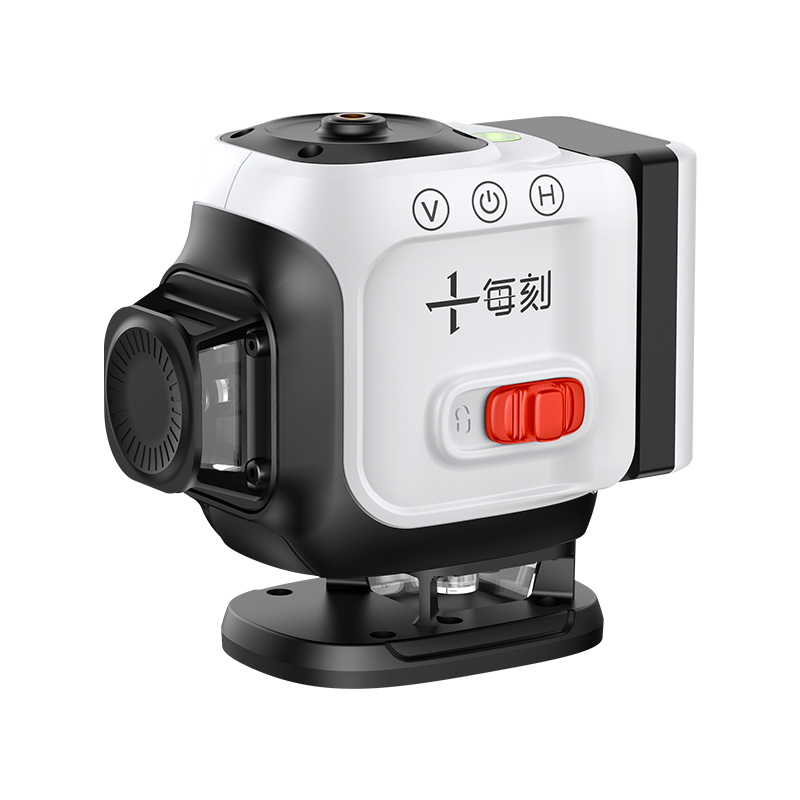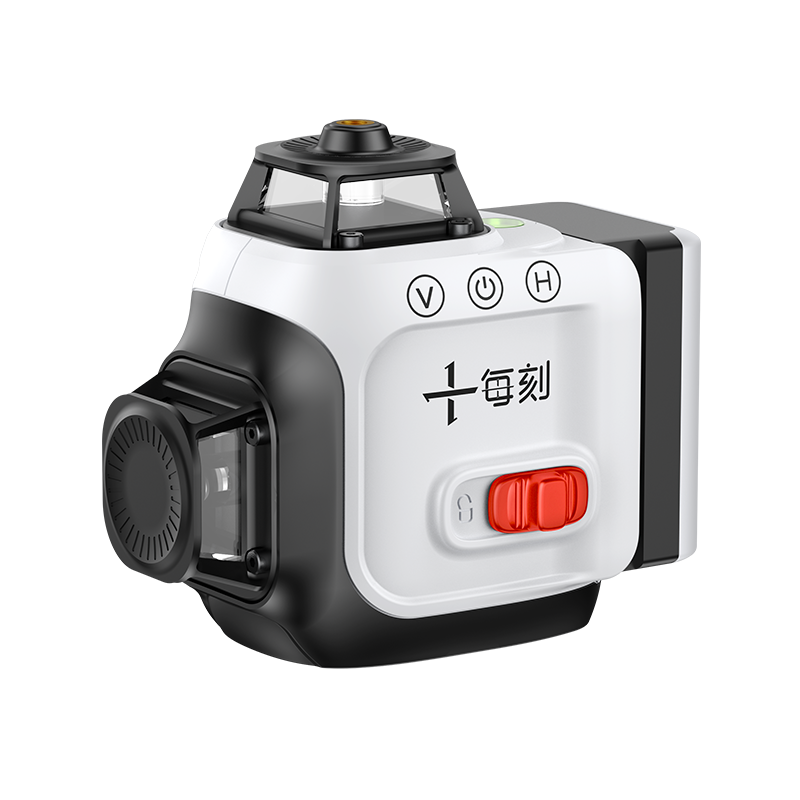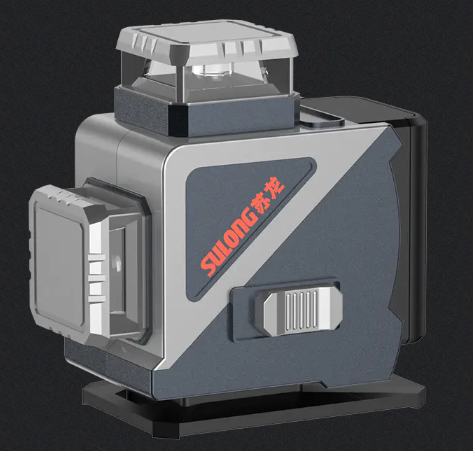
The 12-Line Green Line Wall Laser Level is a high-precision measurement tool that is widely used in construction, decoration and engineering. Its unique design can emit up to 12 clear green laser lines, providing users with accurate horizontal and vertical references. In order to fully utilize the functions of this laser level, the correct use method is essential.
1. Preparation
Before using the laser level, make sure all accessories are intact, especially the battery and laser transmitter. Install the battery into the device and confirm that it is fully charged. If the device is rechargeable, make sure it is fully charged before use. In addition, choose a clean and flat work area to ensure that the laser line can be clearly seen.
2. Choose a suitable location
The placement of the laser level will directly affect the measurement results. Choose a relatively fixed location to ensure that the device is stable and avoid vibrations that cause the laser line to deviate. If possible, use a tripod or other bracket to fix the laser level at a suitable height to obtain the best measurement results. When working outdoors, be careful to avoid direct sunlight to avoid affecting the visibility of the laser line.
3. Power on and self-leveling
After turning on the laser level, the device will automatically calibrate itself. This is a critical step to ensure measurement accuracy. During the self-leveling process, keep the device still until the indicator light shows that the device has completed calibration. Many modern laser levels are equipped with an automatic leveling function, and if the device fails to self-level, an alarm will sound to prompt the user to adjust the position.
4. Laser line adjustment
After completing the self-leveling, the laser level will emit multiple laser lines, and the user can choose the number of laser lines to display according to specific needs. For example, if you only need to make horizontal measurements, you can choose to display horizontal lines; if you need to measure horizontal and vertical lines at the same time, you can choose to display all 12 laser lines. The control button on the device can easily switch between different laser line modes.
5. Measuring and marking
When using a laser level to measure, you can use the laser line as a reference mark to align the laser line with the point you need to measure, such as the installation location of the wall, floor or ceiling. Then, use a pencil or other tool to mark the position of the laser line. This method can ensure the accuracy of the marking and improve the efficiency of subsequent work.
6. Pay attention to environmental factors
When using a laser level, pay attention to the impact of environmental factors on the visibility of the laser line. In a bright environment, the green laser line is relatively easy to see, but it may be disturbed in strong sunlight. You can choose to be in the shade or use a sunshade to improve the visibility of the laser line. In addition, make sure there are no reflective surfaces around to avoid affecting the accuracy of the laser line.
7. Regular inspection and maintenance
To ensure that the laser level is always in optimal working condition, users should perform regular inspections and maintenance. This includes cleaning the laser transmitter, checking the battery status, and confirming the accuracy of the device. If the device is found to be faulty or inaccurate in measurement, it should be repaired or replaced in a timely manner.
Proper use of the 12-Line Green Line Wall Laser Level can improve work efficiency and ensure the accuracy of measurement. Through preparation, choosing a suitable location, self-leveling, laser line adjustment, measurement and marking, paying attention to environmental factors, regular inspection and maintenance, and proper closing and storage, users can give full play to the functions of the laser level. Mastering these usage skills will enable each construction and decoration project to proceed smoothly and ensure the quality of work.

 English
 Español
 简体中文
简体中文